A salon-like gel polish at home in just 10 minutes. Follow these steps to achieve the best result.
Watch the video or follow the steps below for the ‘how to apply’ instructions
Step 1: File and shape nails
Start with pushing back your cuticles with a cuticle pusher.
It’s important that the cuticle area is clean and free from debris when you apply the gel as this might stop the gel polish from adhering to the nail.
File and shape nails.
Lightly buff the shine off the natural nail, being careful not to over buff the nail. Remove any remaining dust from the nail.
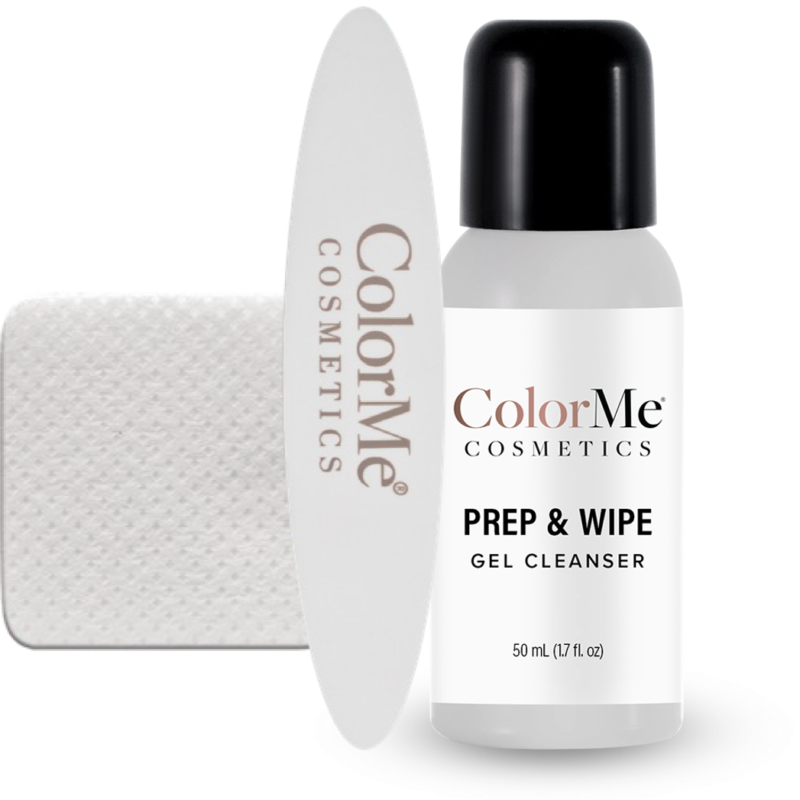
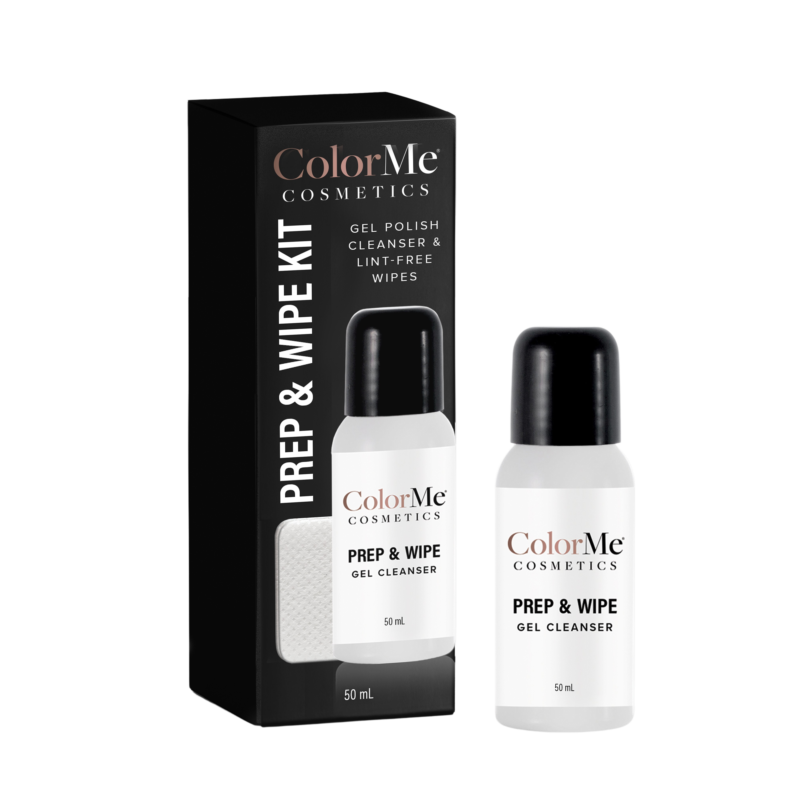
Clean the nails with the Prep & Wipe using a lint free wipe.
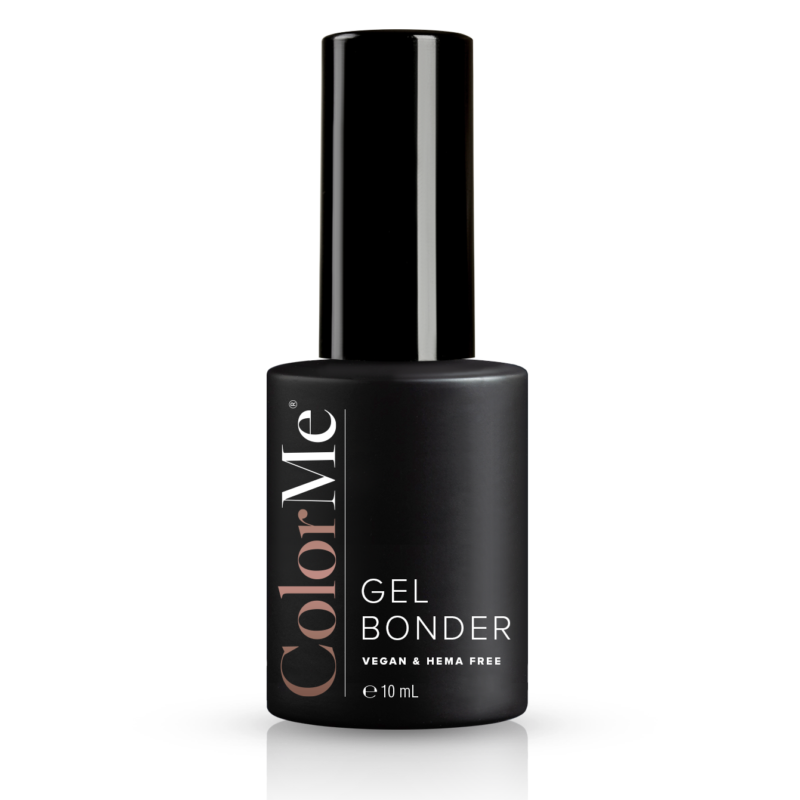
Step 2: Gel Bonder
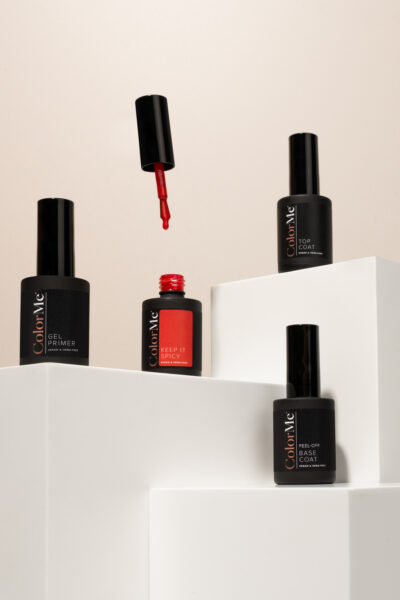
Apply one layer of Gel Bonder sparingly to the nail.
Allow this to air dry for 15 seconds.
Skip this step if you use a Peel-off base coat
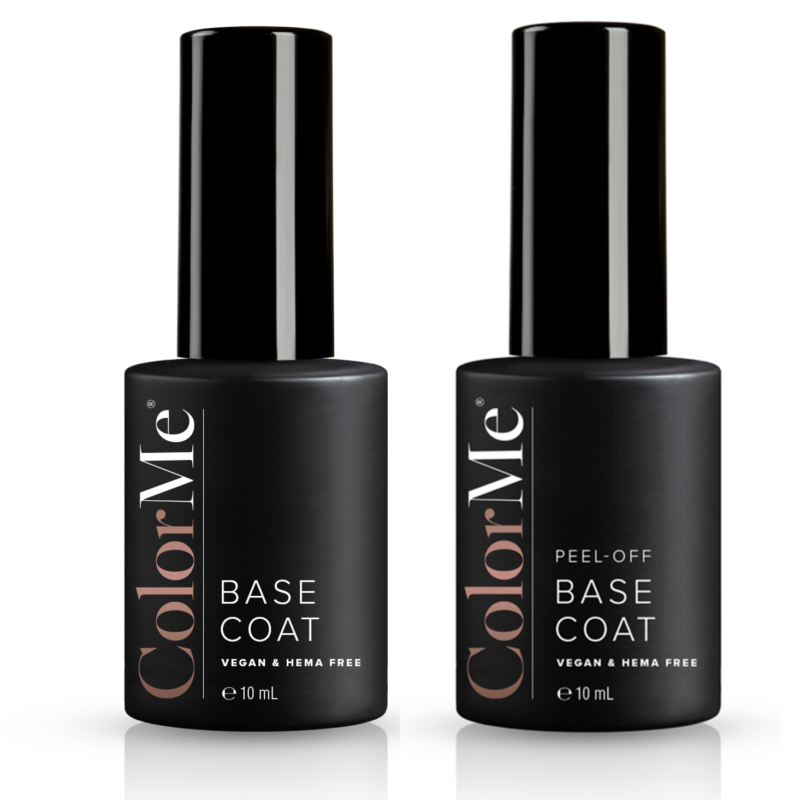
Step 3: Base Coat
Base coat gel method
Apply a thin layer of the Gel Base Coat, then cure for 60 seconds under the LED nail lamp.
Or when using the Peel-off base coat method
Prep your nails as above but there is no need to apply gel bonder
Apply a thin layer of the Peel Off Base Coat and let it air dry.
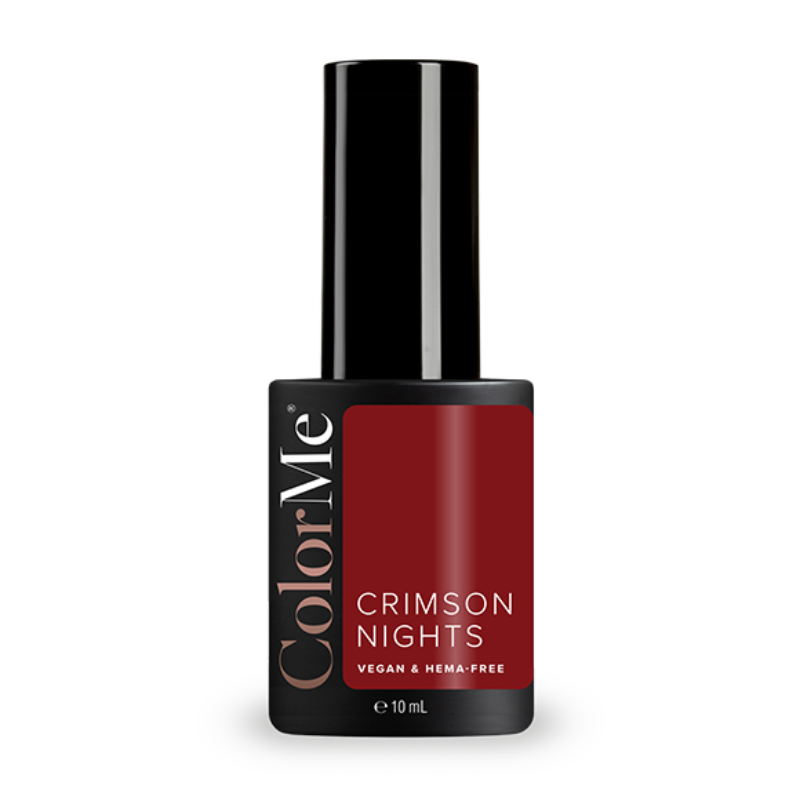
Step 4: Colour Gel Polish
Shake the Colour Gel Polish well, to thin out the formula.
Apply an even layer over the entire nail. The best way to apply gel polish is not to start too close to the cuticle. Start a bit further up the nail then ‘push’ gel polish gently towards the cuticle without it touching. Then pull one stroke up the center, one up each side and finally ‘cap’ the nail by running the brush horizontally over the tip. Wait a few seconds for it to even out perfectly, before you cure it.
When needed, use a cuticle pusher to clean cuticle area.
Cure the nail for 60 seconds under the LED nail lamp.
Step 5: Gel Top Coat
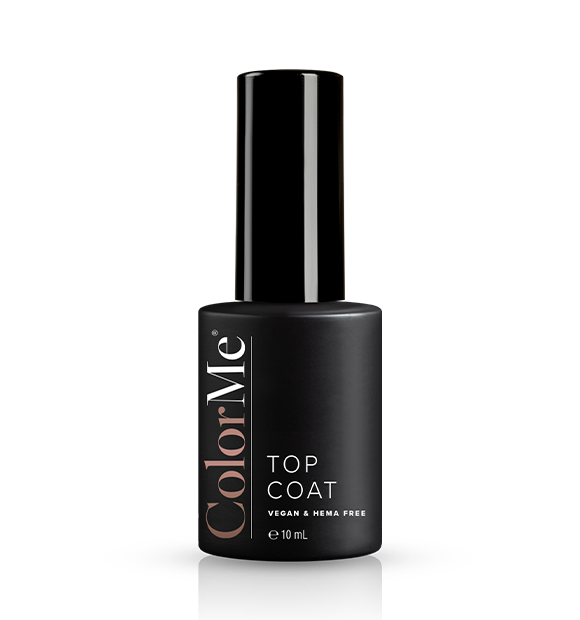
Finish by applying a thin even layer of Gel Top Coat.
Again, make sure the polish doesn’t touch the cuticle or the skin alongside the nails. Cure the nails for 60 seconds under the LED nail lamp.
Step 6: Finishing
Remove the tacky layer using the Prep & Wipe and Lint-Free wipes.
