Are you tired of spending time and money at the salon for a gel manicure? With the right tools and techniques, you can achieve salon-quality nails right at home! Gel polish offers long-lasting colour and a glossy finish. Here’s a step-by-step guide for doing your own gel nail polish.
Learn our expert tips and tricks for perfect gel polish nails every time!
Here are some important tips to keep in mind before you begin your manicure. Properly preparing your nails is key to achieving a gel manicure that lasts and stays chip-free. Make sure to work in a well-ventilated area. Avoid applying the product in direct sunlight or outdoors, as our formula is sensitive to light. Following these guidelines will help you achieve the best results for your at-home gel manicure.
Tip 1. Prep Like a Pro
Before diving into your manicure, make sure all old gel polish is properly removed and your nails are free from any oils. Then, clean your nail plate with the Prep & Wipe.
Tip 2. Shape and Buff
File your nails to your desired shape and lightly buff the shine off the natural nail, being careful not to over buff the nail. Remove any remaining dust from the nail.

Tip 3. Bonder for Perfection
Apply a thin layer of Gel Bonder to each nail to promote adhesion. Allow the bonder to air dry for 15 seconds before moving on to the next step.
Tip 4. Choose Your Base
Depending on your preference, opt for either a Gel Base Coat or a Peel-off Base Coat. Apply a thin, even layer of gel polish across each nail. If you’ve opted for the gel base coat, cure it under a LED nail lamp for 60 seconds to achieve optimal results. If you’re using the Peel-off Base Coat, allow it to air dry completely. This step ensures proper adhesion and sets the foundation for a flawless gel manicure.
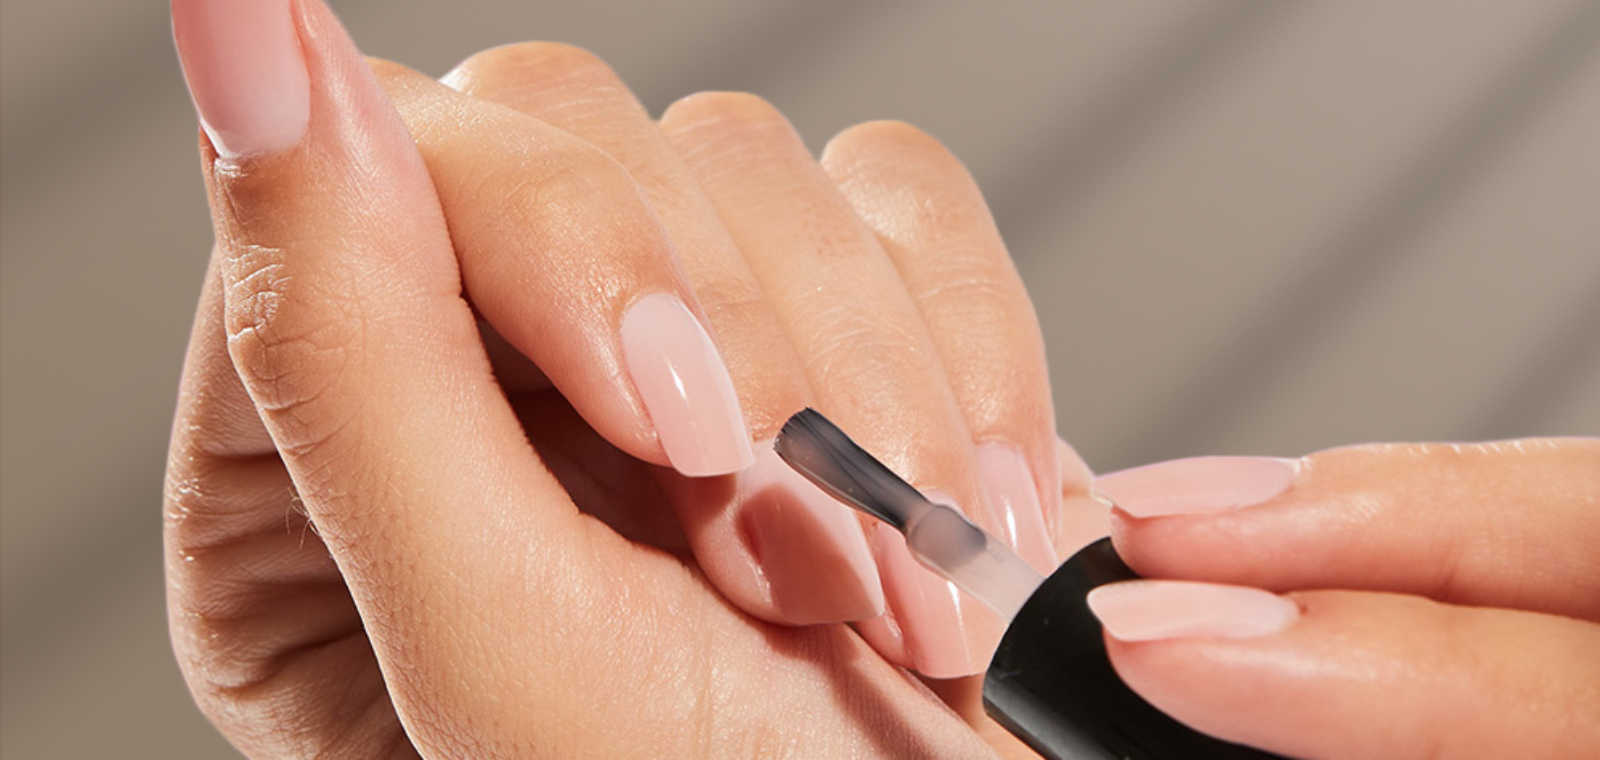
Tip 5. Master the Application
Shake the Gel Polish Colour well, to thin out the formula. Apply an even layer over the entire nail. The best way to apply gel polish is not to start too close to the cuticle. Start a bit further up the nail then ‘push’ gel polish gently towards the cuticle without it touching. Then pull one stroke up the center, one up each side and finally ‘cap’ the nail by running the brush horizontally over the tip. Wait a few seconds for it to even out perfectly, before you cure it.
Tip 6. Cure with Care
After applying the layer of gel polish, cure your nails under a LED lamp for 60 seconds. This step ensures that the polish dries and sets properly, providing a long-lasting finish.

Tip 7. Protect your nails
Apply a thin layer of Gel Top Coat to seal in the colour and add shine. Make sure the polish doesn’t touch the cuticle or the skin alongside the nails. Cure the nails for 60 seconds under the LED nail lamp.
Tip 8. Professional-looking finish
Remove the tacky layer using the Gel Cleanser and Lint-Free wipes. This step creates a clean, professional-looking finish.
Essential Products for your Gel Polish Nails by ColorMe
- Nail file
- Gel Bonder
- Gel Polish Colour
- LED nail lamp
- Cuticle pusher / manicure stick
- Gel cleanser
- Base coat or peel-off base coat
- Top coat
- Lint-free wipes
By following these top 8 tips for applying gel polish, you can achieve flawless results every time. Ready? Then you can go with confidence!